


 Рейтинг: 4.2/5.0 (1914 проголосовавших)
Категория: Windows: Украшательства
When connecting my Nexus 7 to my Windows 7 computer, it doesn't show up in neither Windows Explorer > My Computer nor Device Manager > Portable Devices .
I did, however, install the Google USB driver, which allows USB debugging for Android development, and that driver shows up under Device Manager > Android Devices
Also, when the Nexus 7 is connected via USB to the Windows 7 Computer, the setting on the device is correctly selected/checked to connect as a media device: Notifications (Swipe down) > USB Computer Connection > Connect as Media Device (MTP)
However, when I connect my Galaxy Nexus phone, it shows up in both Device Manager > Android Devices and Device Manager > Portable Devices. which in turn shows up under Windows Explorer > My Computer allowing me to actually use it as an MTP device.
How can I access my Nexus 7 as a media device under Windows 7?


Возникла проблема, в которой самостоятельно разобраться не получается — прошу помощи хабражителей.
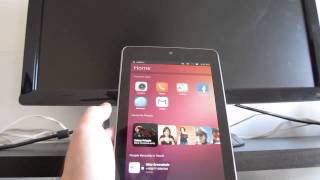
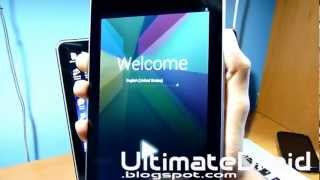
Имеется Google Nexus 7 (2013) и обновленная до 8.1 Windows (с 8.0) на домашнем ПК.
И имеется проблема — при подключении устройства к домашнему ПК, система не может с ним работать: устройство как бы распознается, однако нигде (кроме как в списке устройств) не отображается, доступа к внутреннему хранилищу нет.
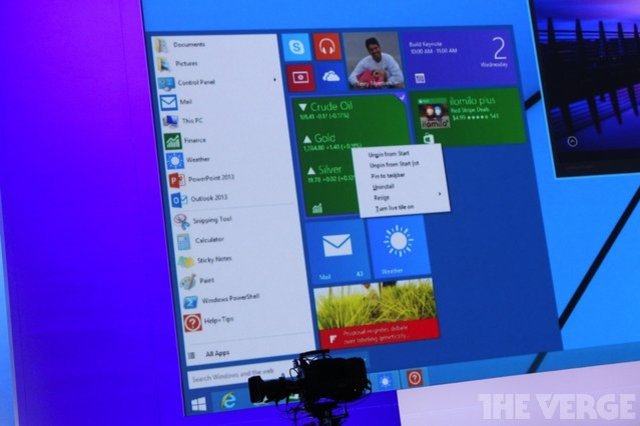
Вот как это отображется в менеджере устройств:
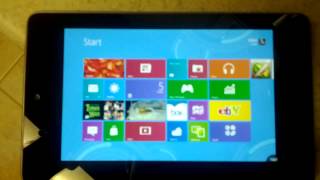
Однако на рабочем ПК, где стоит Windows 8.0, устройство распознается без проблем и доступ к хранилищу есть. Поэтому склонен полагать, что проблема именно в Windows 8.1. но какая? Windows Compatibility Center при этом говорит, что с совместимостью все ОК.
Что уже было опробовано :
— Nexus подключал и в режиме разработчика, и стандартно, и как камеру и как MTP;
— Пробовал ставить драйверы из Android SDK («usb_driver_r06_windows»)
Возможно есть способ как-то стянуть нужные драйвера с системы, на которой устройство распознается без проблем, т.е. экспортировать?
А может еще какой способ есть?
Буду рад любому дельному совету. Спасибо!
Добавил andreo 24 Июль 2013
Если у вас возникла проблема с подключением Нексус 7 или любого другого устройства серии Nexus к компьютеру, работающему на операционной системе Windows XP, то не спешите расстраиваться. Всего за несколько шагов можно сделать так, чтобы компьютер распознал устройство, и Вы получили возможность передавать те или иные файлы.
Внимание. эта инструкция только для компьютеров на базе Windows XP!
1. Как обычно, подключаем Nexus 7 к компьютеру (при этом на планшете должна быть активирована «Отладка USB»).
2. Подводим курсор мышки к ярлыку «Мой компьютер» и нажатием правой кнопки вызываем меню. Выбираем пункт «Свойства», а далее «Диспетчер устройств» (в некоторых версиях Win XP этот подпункт находится в «Оборудование»), и левой кнопкой мышки дважды щелкаем на «МТР устройство».
3. В появившемся окне ищем вкладку «Сведения», в которой должен быть примерно вот такой код: USB\VID_18D1&PID_4EE2&MI_00. Выделяем его и копируем.
4. Отключаем наш Нексус от компьютера.
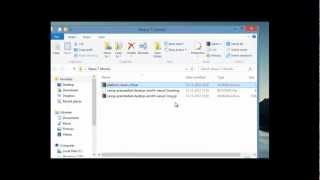
5. Заходим на диск «С», далее в папку «Windows» и в ней, в скрытых файлах ищем папку «Inf» (для того, чтобы видеть скрытые файлы диска, нужно настроить эту опцию в панели управления).
6. В папке «Inf» нужно найти файл под названием «wpdmtp.inf» и открыть его с помощью блокнота или любого другого текстового редактора.
7. Теперь нужно отредактировать файл wpdmtp.inf. Для этого необходимо вставить код, который Вы копировали в пункте 3, следующим способом. Находим такие строчки и вставляем код:
;Device is identified by Microsoft OS descriptor
;If your device does not support it, use specific VID & PID for identification
[Generic.NTx86]
%GenericMTP.DeviceDesc%=MTP, USB\MS_COMP_MTP
%GenericMTP.DeviceDesc%=MTP, USB\VID_18D1&PID_4EE2&MI_00
[Generic.NTamd64]
%GenericMTP.DeviceDesc%=MTP, USB\MS_COMP_MTP
%GenericMTP.DeviceDesc%=MTP, USB\VID_18D1&PID_4EE2&MI_00
8. Сохраняем и закрываем файл.
9. Снова подключаем Nexus 7 компьютеру с помощью USB.
10. Запускаем диспетчер устройств на компьютере и обновляем драйвера МТР.
11. Все готово!
Важно. если на вашем компьютере нет файла wpdmtp.inf, то необходимо осуществить обновление программы Windows Media Player до 11-ой версии.
Обновлено! Если и после этих действий планшет так и не обнаружился, можно попробовать сделать следующее, когда он подключен к ПК через USB:
• заходим в Настройки;
• пункт Память;
• в правом верхнем углу выбираем USB подключение к компьютеру;
• ставим галочку возле Медиа-устройство (МТР).
Автор скриншотов. Сергей Гипик
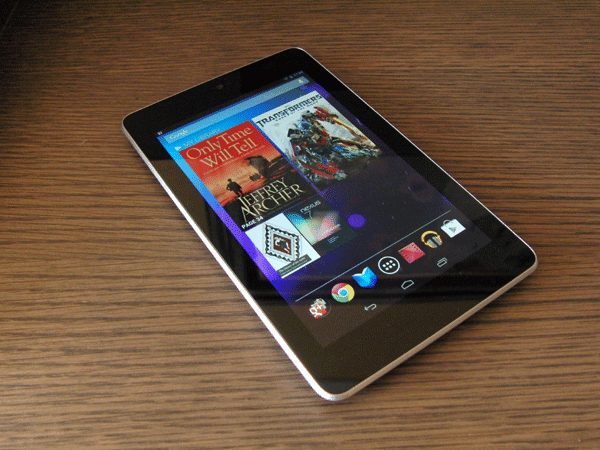
While preparing for my BUILD talk that introduces Windows 8 to Android developers, I went to the nearest GameStop and brought home a brand new Nexus 7 to try it out. I enabled USB debugging before I fired up the IDE. When I tried to deploy the app to Nexus 7, to my frustration it was not being recognized by ADB. The Nexus 7 device was showing up as a USB drive with obvious name “Nexus 7”. It is good if I wanted to copy files to and from the device but my purpose is to deploy the app and test it out.
After Bing’ing for a couple of minutes I realized that I needed to install Google USB Driver (rev 7). I installed the driver from the SDK Manager.exe and rebooted the box. When I plugged Nexus 7 back in, now my USB drive disappeared and it showed up as a MTP ( Media Device). Still ADB doesn’t see Nexus 7… it was a bit frustrating not a lost cause yet.
Again, Bing to the rescue… I found a thread that was describing the process to show an Android device as a USB drive instead of an MTP device. I also found that if Nexus 7 shows up as a “camera” the ADB may pick up the device. I thought I would give it a shot; from the Settings –>Device->Storage->USB Computer Connection (from the menu), I changed the device to “Camera (PTP)” and ran “adb devices –l” at the command prompt. Voila, ADB lists the device and ADT was able to deploy the app to Nexus 7!
Here are the high level steps:
Happy development on Windows 8!
ABD drivers and specially fastboot drivers are necessary to perform some technical operation on your Nexus device such as rooting, installing a custom ROM or flashing stock Android firmware. One can simply install the drivers for Nexus 7 using Android SDK or a supported toolkit but the process is somewhat longer and there are chances that either of the drivers might not be configured properly. This guide states the easiest way to install ADB and Fastboot Drivers for Nexus 7 on Windows 7 and Windows 8.
1. Enable USB debugging on your Nexus 7. (Settings > Developer options > USB Debugging) and connect the tab to computer.
– If Developer Options are not visible, visit here to know how to enable them.
2. Download USBDeview. extract and open the .exe file (Run as administrator).
3. In USBDeview, carefully look for devices with Vender IDs: ‘18d1 ’ or ‘04e8 ’. Select all such devices, right-click and select ‘Uninstall selected devices’ to remove them.
Ignore Step #2 and #3 if you haven’t messed up with drivers before or are installing the drivers on a fresh installed OS.
Installing ADB drivers for Nexus 7 on Windows 7 & Windows 8 –
>> Download Nexus 7 USB Drivers for Windows 7 & Windows 8 (32-bit and 64-bit) and extract the zip file to a folder on your desktop.
1. Disconnect and reconnect your tablet to computer and let it automatically search, download and install the drivers. ( Computer should be connected to Internet )
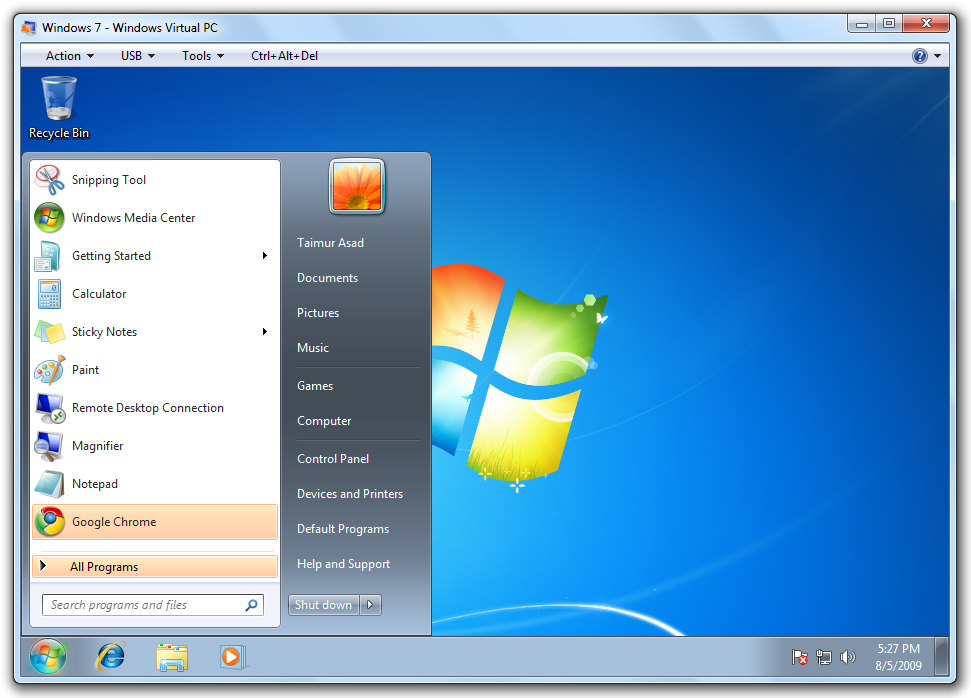
In Windows 7, driver installation will appear like this:
In Windows 8, driver installation will appear like this:
2. Open Device Manager from Control Panel. You devices should be listed as Nexus 7 under Other devices. Right-click Nexus 7 and click ‘Update driver software’.
3. Select the option ‘Browse my computer for driver software’.
4. Browse to the ‘Google Drivers’ folder directory that your downloaded above and also tick mark ‘Include subfolders’. Click Next.
5. A dialog box will appear asking to install the device software. Select ‘Install’.
6. That’s it. Your ADB drivers are now successfully installed on Windows 7/8.
To confirm. open Device Manager and your Nexus 7 should be listed as ‘Android Composite ADB Interface’ while in USB Debugging mode on both Windows 7 & 8. That means ADB drivers for your device are working properly.
Installing Fastboot Drivers for Nexus 7 –
Boot the device into fastboot aka Bootloader mode – First power off the tab, then turn it on by ‘Holding down both volume up + volume down buttons and the power key simultaneously.’ While in Fastboot mode, connect the tab to computer.
Both Windows 7 & Windows 8 will automatically recognise and install the right drivers for fastboot. You should see the below message.
To confirm that Fastboot drivers are installed properly. open device manager and it should list your device as ‘Android Bootloader Interface’ while in Fastboot mode.
We’ve tried the above procedure on 32-bit version of Windows 7 and Windows 8.
denimknight said: 08-23-2014 10:00 AM
Just got my Nexus 7 (2012). I'm running Windows 8.1 on my main machine, I connected the Nexus to my laptop, the laptop does that sound it makes when a USB device is connected, and it displayed the installing driver message. Said it installed correctly.
When I look in Devices and Printers Nexus 7 shows as an Unspecified device and it doesn't show under MyComputer. I'm trying to transfer my music onto it. Am I doing something stupid here? My girlfriend has a laptop with Windows 7 on it, which recognizes the Nexus without any problems.
I could transfer my music onto the tablet from her machine over the network, but I shouldn't really have to do it that way.
Anyone got any ideas what's going on? Is there a compatibility issue between this version of the nexus and Windows 8.1?
Things I've tried:
using a different USB port (both 2.0 and 3.0)
using a different USB cable
uninstall, reboot and reinstall driver
Tablet running KitKat 4.4.4
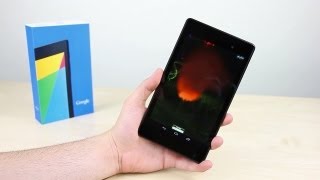
Whether you have the original Nexus 7, or the 2013 Nexus 7 tablet, rooting it will give you access to tomorrow's features, today.
Sure, without root there's lots you can use it for. It's helped me get out of bed. became my own personal bartender. and a lot more.
But with a rooted Nexus 7, you can install and use special features like KitKat's immersive mode. add extra swipe gestures. set separate home and lock screen wallpapers. and other cool Xposed Framework mods to personalize and automate your life.
Rooting may sound like a tricky procedure, but it's really not. Thanks to an awesome root-kit made specifically for all Nexus devices (including both the 2012 and 2013 Nexus 7). the process for rooting is virtually painless.
Update. There's a new root method available. and it's the easiest one yet. No need for USB cables, computers, drivers, or toolkits. Simply download an app, run it, and you're root 30 seconds later. Check out our guide here. it's worked flawlessly with 2013 Nexus 7's, but currently doesn't work for 2012 editions as well. Worst comes to worst, you can always come back to this guide, as that process does not erase any data.
Before you begin, make sure you're on the latest version of Android, KitKat (version 4.4.X)—head to Settings -> About tablet -> System updates -> and hit Check now. If you're still on Jelly Bean, you may want to check out our previous rooting 4.3 guide for Windows. though the process is almost the same.
Step 1: Enable USB DebuggingYou need to allow the toolkit to make a connection to your Nexus, so you'll need to enable USB Debugging. Simply go into Settings -> Developer Options -> USB Debugging .
If you don't see Developer Options. don't worry. Go into Settings -> About Device and tap on Build Number about 7 times. You'll see a toast notification pop up letting you know that you're a developer. Then simply go back and you'll see "Developer options."
Step 2: Download & Install the WugFresh Nexus ToolkitIf you don't know, this kit is a Godsend—it literally does all of the heavy lifting for us. Head over to the WugFresh website and grab the latest version of the Nexus Root ToolKit . which has been updated with KitKat 4.4.2. compatibility.
You can also grab the direct download here. Whenever you run the app, make sure to right-click on the icon and select "Run as administrator".
Step 3: Back Up Your NexusThe first step to rooting is unlocking the bootloader, which I'll get into a little later. Unfortunately, that process means that you'll need to wipe the data on your device. If you're not interested in starting fresh, the WugFresh toolkit has you covered.
Select "Backup" from the left-most panel, then select the items you want to back up. In general, I only backup SMS and call logs because apps and contacts are restored once you sign in with your Google account.
Unfortunately, app data is not restored automatically, so if you've got a great high score in Flappy Birds that you'd be sad to lose, you may want to back up your apps using the toolkit. Just select "Create Android Backup File," either under "Backup All Apps" or "Backup Single App."
Step 4: Set Up the Toolkit Дата: 2-07-2013, 15:17 |
  Автор: Enotka | Категория: Nexus 7. Инструкции
а)Win7/Vista - Панель управления > Система > Диспетчер устройств
б)Win XP - Мой Компьютер > Свойства > Оборудование > Диспетчер устройств
Двойной клик по этому устройству Обновить драйвер > Выполнить поиск драйверов на этом компьютере > Выбрать драйвера из списка установленных драйверов. > Установить с диска > Выбираем папку, в которую распаковали скачанный драйвер > Ставьте галочку на Искать в подпапках > Завершаете установку драйверов
Для WinXP:
Правой кнопкой мыши по этому устройству > Обновить драйвер > Установка из указанного места > Выполнить поиск наиболее подходящего драйвера в указанных местах > Ставим галочку "Включить следующие места поиска" > Указать папку с распакованным драйвером > Завершить установку